Picture Effects
This activity has the following desired goals:
- Learning to apply effects to pictures (A, M).
Step 1
Type in the following code and run it:
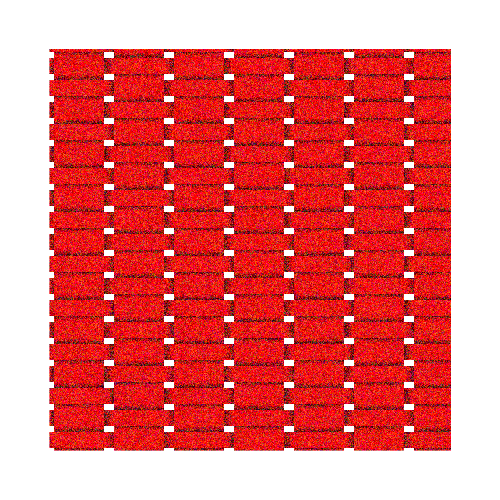
cleari()

val filter1 = new com.jhlabs.image.WeaveFilter
filter1.setXGap(10)
filter1.setXWidth(50)

val filter2 = new com.jhlabs.image.NoiseFilter
filter2.setAmount(100)
filter2.setDensity(1)

val pic = fillColor(red) -> Picture.rectangle(400, 400)
val pic2 = effect(filter1) * effect(filter2) -> pic
drawCentered(pic2)
Q1a. What do you think the above code does? Explain to a friend.
Q1b. What do you think a WeaveFilter does? How is it used in the code above?
Q1c. What do you think a NoiseFilter does? How is it used in the code above?
Self Exploration
Try out different things in the code above:
- Use only one filter at a time.
- Change the filter settings.
Explanation
After you create a picture, you can apply effects to it via image filters.
Kojo includes a bunch of image filters from JH Labs. To use these filters effectively, it’s best to (for now) just look at the JavaDoc in the source code.
The general approach while using these filters is to:
- create the filter - e.g.
val filter = new com.jhlabs.image.WeaveFilter - change the filter parameters (or settings) as desired - e.g.
filter1.setXGap(10) - apply the effect to a picture - e.g.
val pic2 = effect(filter) -> pic- multiple effects can be composed together - e.g.
val pic2 = effect(filter1) * effect(filter2) -> pic
- multiple effects can be composed together - e.g.
- draw the picture with effects -
draw(pic2)
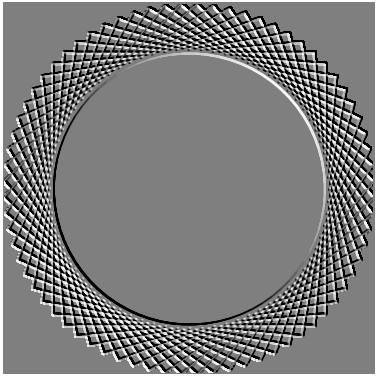
Exercise
Write a program to make the following figure. Use a penColor of white and a fillColor of black for the drawing, and use an emboss filter:
Copyright © 2010–2025 Kogics Foundation. Licensed as per Terms of Use.